


Festive Fall Bath Bombs
Friday is finally here, and so is the first of our Friday DIY recipes! At LA Salt, we believe self-care shouldn’t be an overpriced luxury. Taking time over the weekend to take care of yourself, body, mind, and spirit, allows you to charge into Monday ready to take on the world.
To give you a headstart, we’re sharing some of our favorite DIY recipes to try out. Make them on your own for a little me-time, or invite friends for a girl’s night in! In honor of the beginning of fall, our first DIY captures all the coziness of a falling leaves, a chilly night, and a hot cup of tea, all in a small, easy to make package; bath bombs! These bath bombs are scented with your favorite fall essential oils, and you can make them in any color you’d like.
Best Fall Bath Bombs
Ingredients
From Your Cupboard:
- 1 cup baking soda
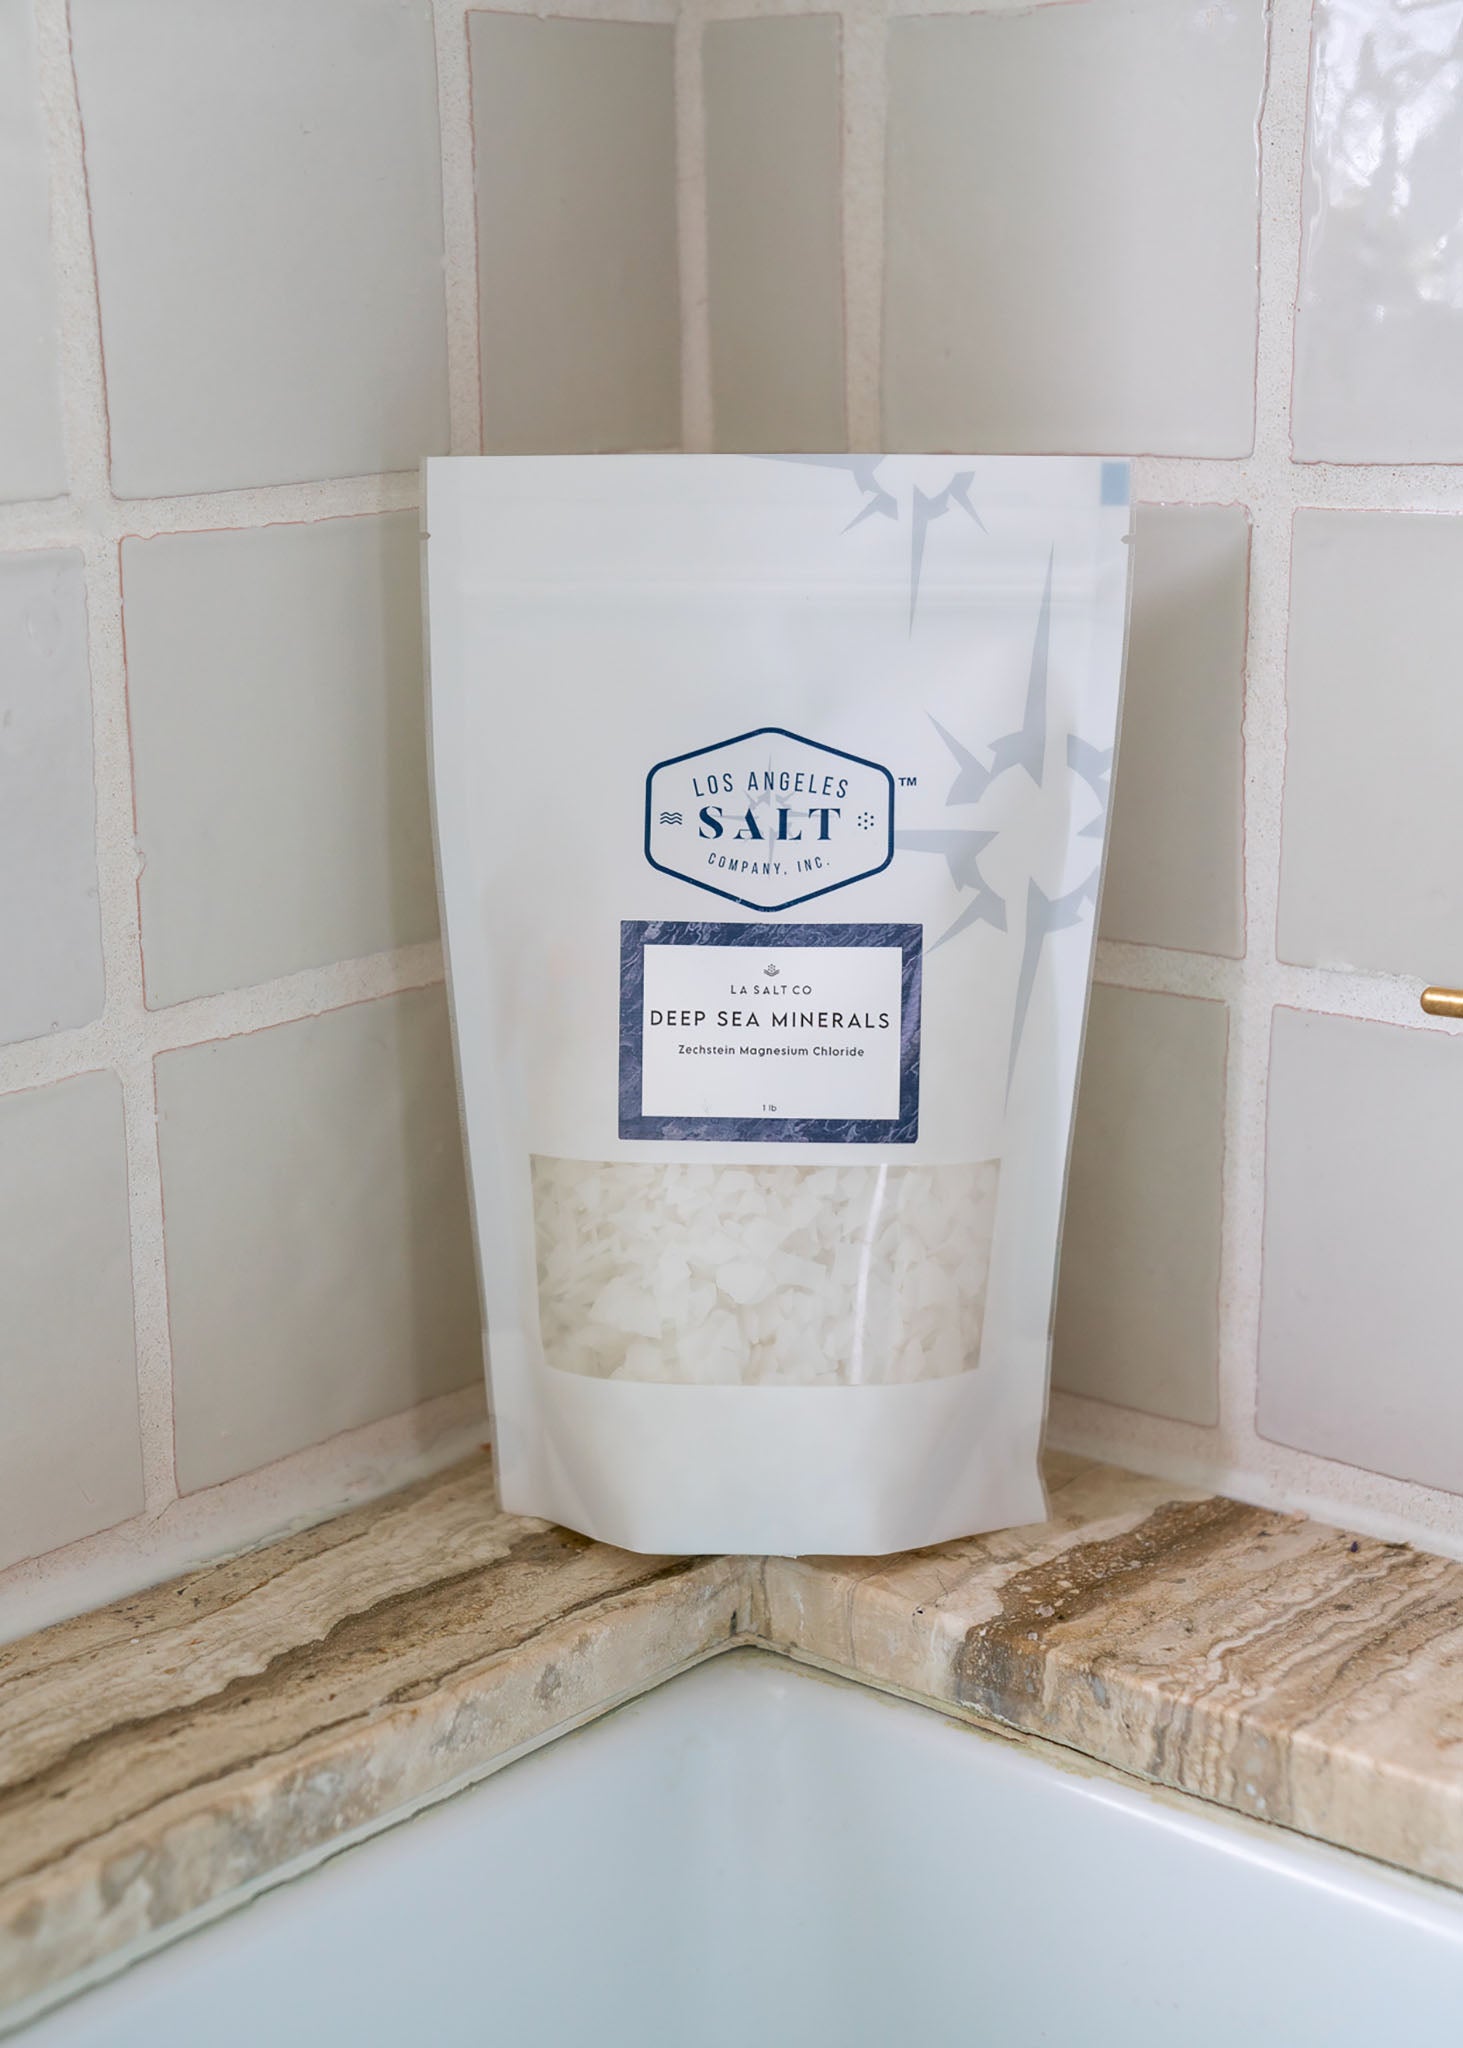
- 1/2 cup of LA Salt’s premium-grade Epsom salt
- 1/2 cup cornstarch
- 3/4 tsp. water
From Your Local Health-Food Store or Favorite Online Retailer:
- 1/2 cup citric acid
- 2 tsp essential oil- Cinnamon, ginger, nutmeg, clove, and cardamom smell amazing, but do go easy on the cinnamon, ginger, and clove. A little goes a long way, and too much can irritate the skin.
- 2 tsp oil- Jojoba, sweet almond, coconut, olive, or grape oil are good choices
- A mold of your choice- Muffin tins of any size, candy molds, or specially made bath bomb molds will all do just fine
- Extra: Dried flowers, leaves, or sugar cake decorations from your local craft store can give your bath bombs an extra pop of texture and color.
How to Make Them
Step 1: Mix all of the dry ingredients besides the citric acid in a large bowl.
Step 2: Pour all of the wet ingredients, scents and color included, into a jar or thermos with a lid. Close the lid tightly and shake it for one minute, or until thoroughly combined.
Step 3: This is where it gets really fun. Pour the jar of liquid ingredients into the dry ingredients and mix it with your hands. Don’t be afraid to get messy! All of the ingredients are great for your skin, so you’ll walk away with both soft hands and a sense of accomplishment.
Step 4: Now, add in the citric acid. Most likely, the mixture will fizz. Don’t be alarmed! This is exactly what you want to happen. Remember the feeling of sinking your fingers into wet, crumbly beach sand? That’s about what your soon-to-be bath bombs should feel like.
Note: Even if the mixture feels a little dry, don’t add water! It will react just like you’d expect a bath bomb to react. Save the fizzing for the bathtub, not your kitchen sink!
Step 5: Pack the mixture into your favorite mold. You might want to overfill the molds, pressing the mixture in as tightly as you can. Think of it like making a sandcastle; if they aren’t packed tightly enough, they’ll fall apart when you turn them over instead of holding their shape.
Step 6: Cover a large cookie sheet with wax paper and gently turn the mold over onto the paper. Tap the bottom of the mold until each bath bomb is loosened.
Step 7: Set aside and allow to dry for a day or two before using. If they still feel a little soft or damp, wait a little longer before you package them for gifts.
The final step? Draw yourself a hot bath, light some candles, put on your favorite relaxation-playlist, and let your brand-new fall bath bomb work its magic. Enjoy!
Make Them Your Own
If you loved this project, why not make it again? There are endless ways to customize the recipe to make it your own. These are a few of our favorite fall bath bomb ideas:
- Pumpkin spice latte fans, we’re talkin’ to you! Add a a tablespoon of instant coffee to the mix. Sprinkle cinnamon, nutmeg, or pumpkin pie spice on top as the bath bomb is drying for a truly fall-tastic bath bomb experience!
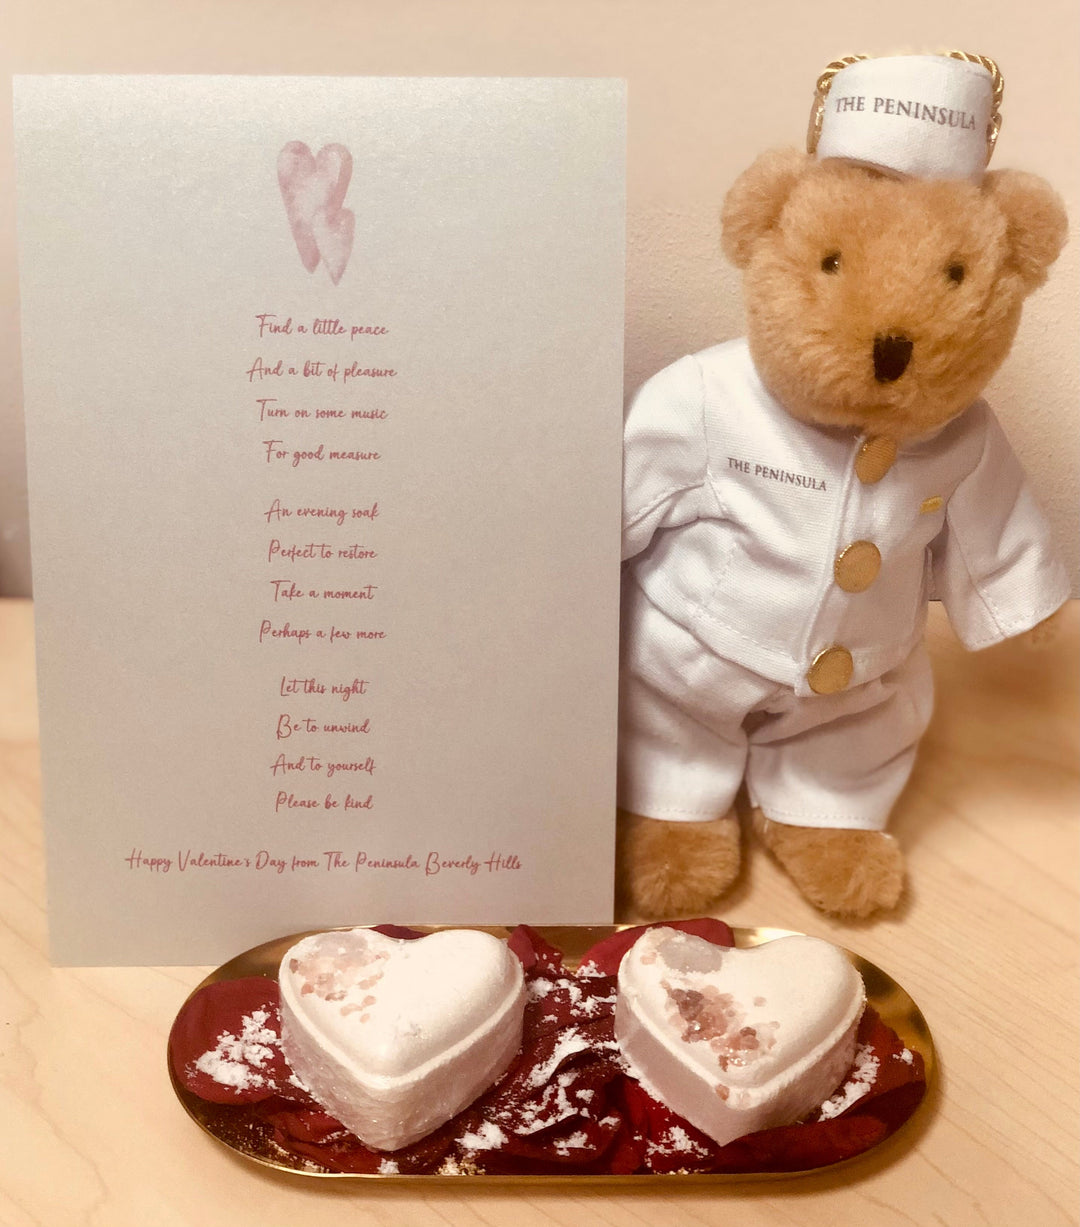
- Everyone loves surprises. Give your friends and family a reminder to unwind and relax with a thoughtful homemade spa package. Make a few bath bombs in warm, fall colors; red, orange, gold, brown, and green look wonderful together. For an extra dose of fall, use a leaf-shaped mold like this one on Amazon. If you don’t mind spending a little more, this one has even more fun shapes to choose from! Wrap up your masterpieces in a cellophane bag and top it off with a matching bow. Pro-tip: While cellophane is not recyclable, it is fully biodegradable. When you’re done with the bags, reuse them or put them in the compost bin.
- Make up a large batch to share with loved ones at Thanksgiving. If you’d like to experiment with new scents, this 100% Pure Essential Oil Fall Set suits the season. To find out more about the difference between essential oils and fragrance oils, read our post that breaks down all the details.
What would you like to make next? Comment your suggestion, and you might see your idea on one of our upcoming Friday DIY’s!
Leave a comment